How to Configure an iOS Device for Exchange (iOS 8)
This procedure is applicable for iOS devices (iPhone, iPad, etc.) running iOS 6 or higher. The screenshots shown below were taken from an iPhone 6 running iOS 8.0.2. Other devices will be similar.
You may want to turn off WiFi during initial set up. Once the device has been set up you can turn it back on.
To setup an Exchange email account on an iOS device, perform the following:
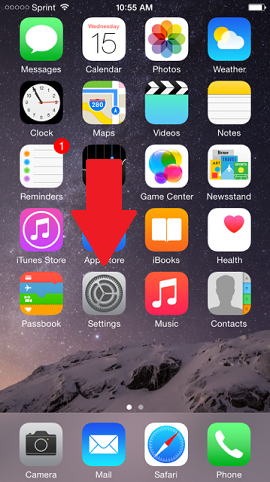
1. From the home screen, tap Settings
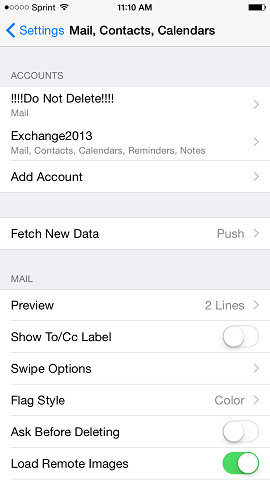
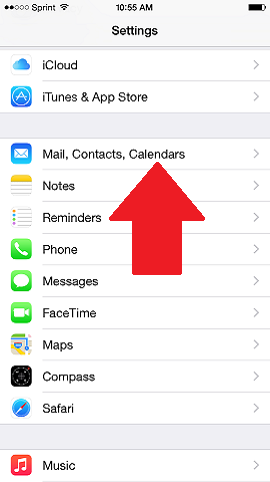
2. Tap Mail, Contacts, Calendars.
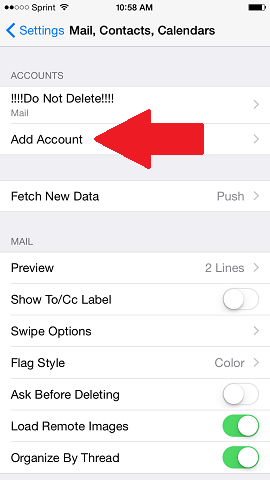
3. Tap Add Account.
4. Tap Exchange.

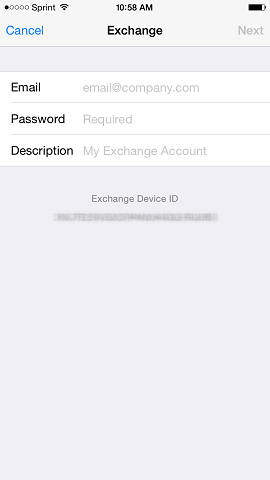
5. Type in the Email address, Password, Description (optional) and tap Next. Note that the description labels the account on the device and is not visible to anyone else.
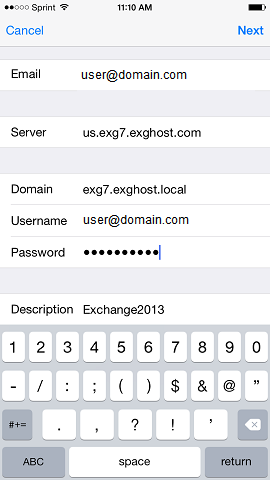
6. The device will attempt to complete the account setup automatically. If successful, proceed to Step 8. If the automatic setup fails, enter the account-specific ActiveSync settings obtained from the Customer Portal.
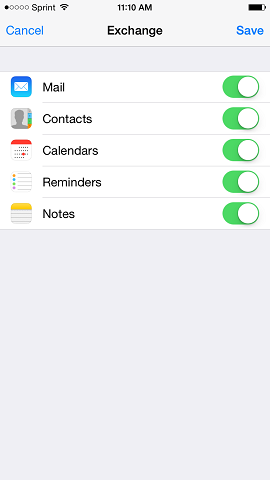
7. Choose the Exchange services to synchronize. If prompted, tap Keep on My iPhone. Note that other types of iOS devices will display similar confirmation notices.
If data is stored in the device's local address book and calendar, those options will be turned off by default. Local data can be enabled, but a pop-up will appear prompting if the user wants to delete the local data because it may result in duplicate contacts or events. Unless the user is sure they don't need this information, the Keep on My iPhone option should be chosen.
8. The account is now added!